Removing window tinting from your car can be a daunting task, but with the right tools and techniques, it can be done efficiently and effectively. Whether you’re dealing with faded, bubbled, or outdated tint, this guide will walk you through the process of window tint removal step by step.
Why Remove Window Tinting?
Before diving into the how-to, it’s essential to understand why you might want to remove window tinting. Over time, window tint can degrade due to exposure to sunlight and other elements. This can lead to discoloration, bubbling, and reduced effectiveness in blocking UV rays. Additionally, you might need to remove old tint to comply with local regulations or to apply a new, more advanced tint.
Read more: WHAT IS THE LEGAL WINDOW TINT PERCENTAGE IN PERRYVILLE, MO?
Tools You’ll Need
To remove window tint, gather the following tools:
- Razor blades or utility knives
- Spray bottle filled with soapy water or ammonia solution
- Plastic scraper or squeegee
- Hairdryer or heat gun
- Microfiber cloths
- Garbage bags
- Window cleaner
Step-by-Step Guide to Removing Window Tint
Preparation
Before starting, park your car in a shaded area to avoid direct sunlight, which can make the process more challenging. Cover any surfaces around the windows to protect them from any cleaning solutions you’ll be using.
The Ammonia and Garbage Bag Method
This method is effective and commonly used for removing window tint:
Cut a black garbage bag to the size of the window.
Spray soapy water on the outside of the window and place the garbage bag over it. The bag will stick to the glass.
Inside the car, spray ammonia solution generously on the window tint. Quickly cover the inside of the window with another garbage bag to keep the ammonia from evaporating.
Let the car sit in the sun for about an hour. The heat will help loosen the adhesive.
Related: HOW TO MAKE WINDOW TINTING LAST LONGER?
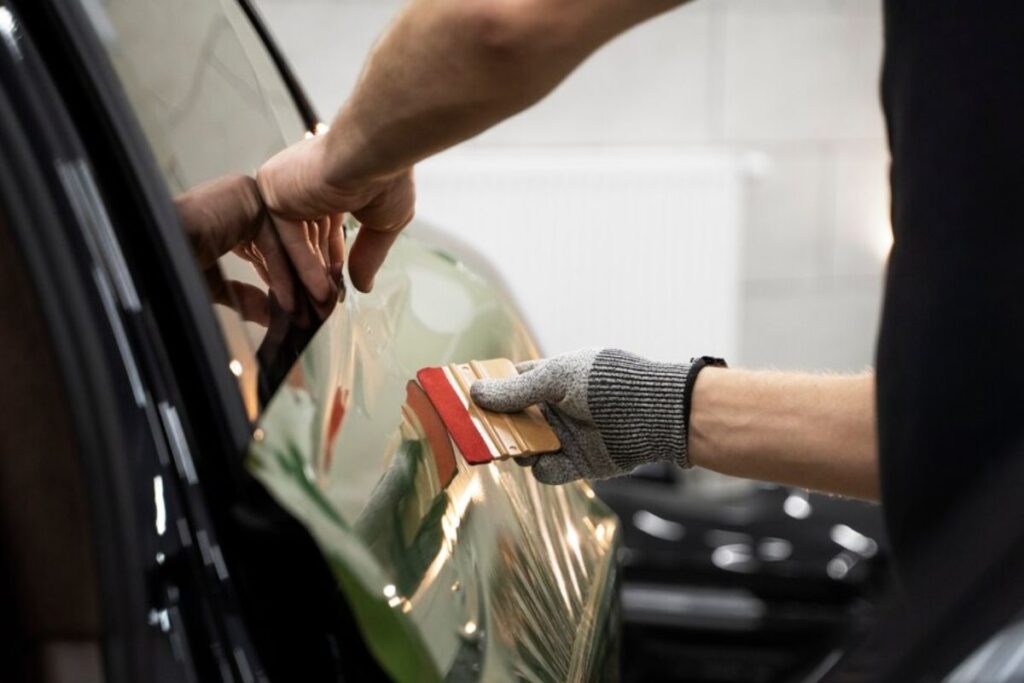
Peeling Off the Tint
Once the ammonia has had time to work:
Use a razor blade to lift the edge of the tint.
Slowly and steadily peel the tint off the window. If it breaks, use the razor blade to lift another section and continue peeling.
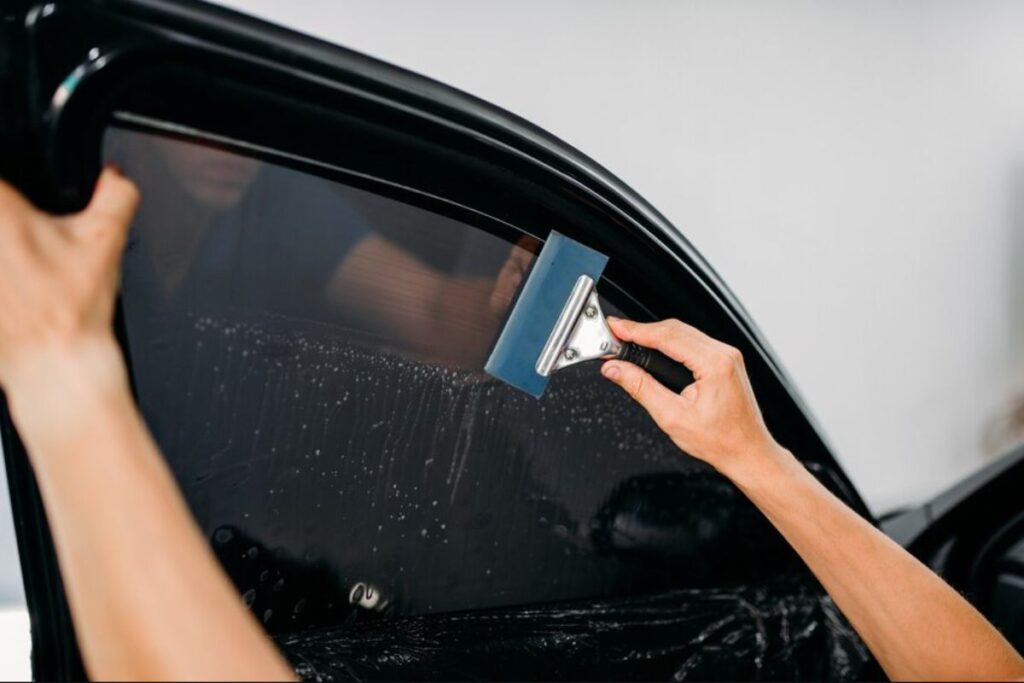
Removing Residual Adhesive
After the tint is removed, there will likely be adhesive left on the window:
Spray the adhesive with the ammonia solution or a commercial adhesive remover.
Use a plastic scraper or razor blade to gently scrape off the adhesive.
Wipe the window with a microfiber cloth to remove any remaining residue.
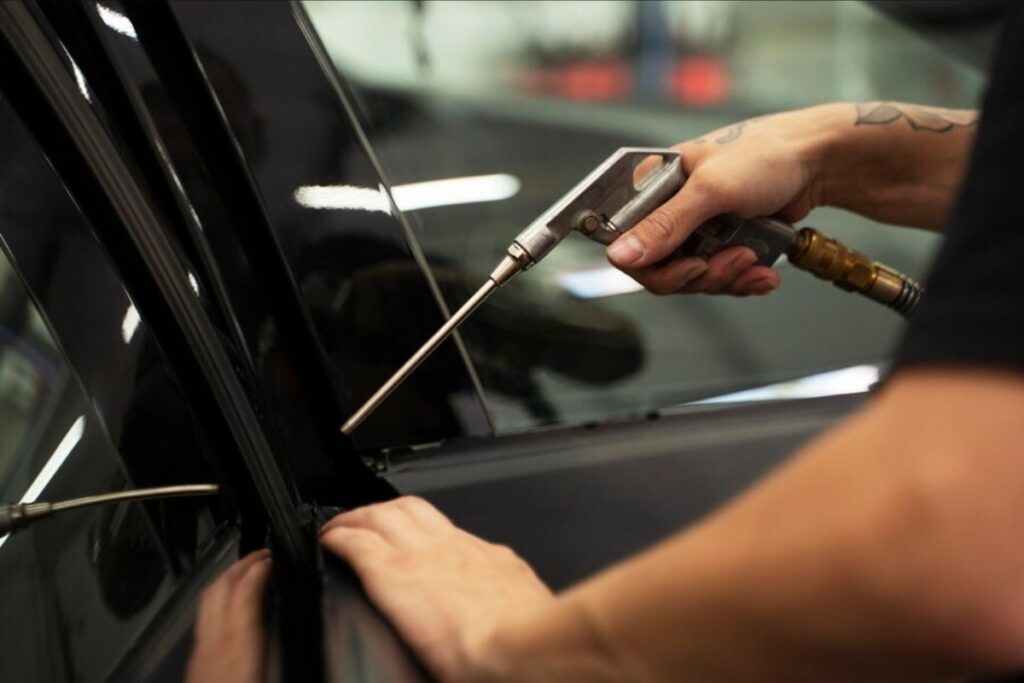
The Steam Method
An alternative method involves using a steamer:
Hold the steamer close to the window to heat up the tint and adhesive.
Once heated, use a razor blade to start peeling off the tint. The steam should make it easier to remove the adhesive along with the tint.
Cleaning the Windows
After removing the tint and adhesive:
Clean the windows thoroughly with a window cleaner and a microfiber cloth to ensure all residue is gone.
Inspect the windows for any remaining spots and clean them as needed.
Professional Window Tint Removal
While DIY methods can be effective, they require time and patience. If you’re not comfortable doing it yourself, you can search for “window tint near me” or “car window tint near me” to find professionals who can do the job for you. Professional services use specialized tools and techniques to ensure a clean removal without damaging your windows.
You can refer to the window tinting services at Cloud 9 Tint Studio and Auto Spa, one of the most professional window tint providers in Perryville, MO.
Choosing Removable Window Tint
If you’re considering re-tinting your windows, you might want to explore options for removable window tint. These tints offer flexibility as they can be easily removed or replaced without leaving residue. They are ideal for those who frequently change their tint or lease their vehicles.
Benefits of Removable Window Tint
- Ease of Removal: Unlike traditional tints, removable window tints can be peeled off without extensive cleaning.
- Versatility: You can change the tint whenever you want, allowing for customization and adherence to varying regulations.
- No Residue: High-quality removable tints leave no adhesive residue, making the process hassle-free.
Removing window tint can be a straightforward process if you follow the right steps. Whether you choose the ammonia method or the steam method, patience and precision are key. For those who prefer not to handle it themselves, professional window tint removal services are readily available. Additionally, considering removable window tint options can provide greater flexibility and convenience for future changes.
If you’re looking to replace your tint after removal, searching for “window tint near me” or “car window tint near me” can help you find reputable providers in your area. By taking the time to remove old tint properly, you can ensure a clean slate for new, effective, and aesthetically pleasing window tinting.
Cloud 9 Tint Studio and Auto Spa in Perryville, MO, specializes in professional window tinting services. Their experts will assist you in choosing the perfect tint for your car, offering solutions for increased privacy, UV protection, or a modern look. Call +1 573-768-2721 and make your appointment today!