Window tint offers numerous benefits, from reducing heat and glare to enhancing privacy. However, there may come a time when it needs to be removed. Whether dealing with peeling, upgrading to a better film, or just wanting a change, removing window tint requires patience and care.
In this guide, we’ll walk you through the steps to effectively remove window tint from cars, homes, boats, and commercial buildings.
Why should you remove old window tints?
There are several reasons why you may want to remove old window tints:
- Damage or degradation: Over time, window tints can bubble, fade, or peel due to prolonged exposure to UV rays and heat. Removing old tints can restore appearance, help address any underlying issues, and prevent further damage.
- Upgrading to better technology: Newer tints, like ceramic or carbon films, offer better UV protection, heat rejection, and durability. Removing the old tint allows you to replace it with a superior product.
- Aesthetic reasons: Removing window tint allows you to achieve a clearer, fresher look, whether for your car, home, boat, or office building.
- Selling or trading: When selling a car or property, removing old window tints can enhance the appearance and increase the resale value. New owners may prefer clear windows or a different tint.
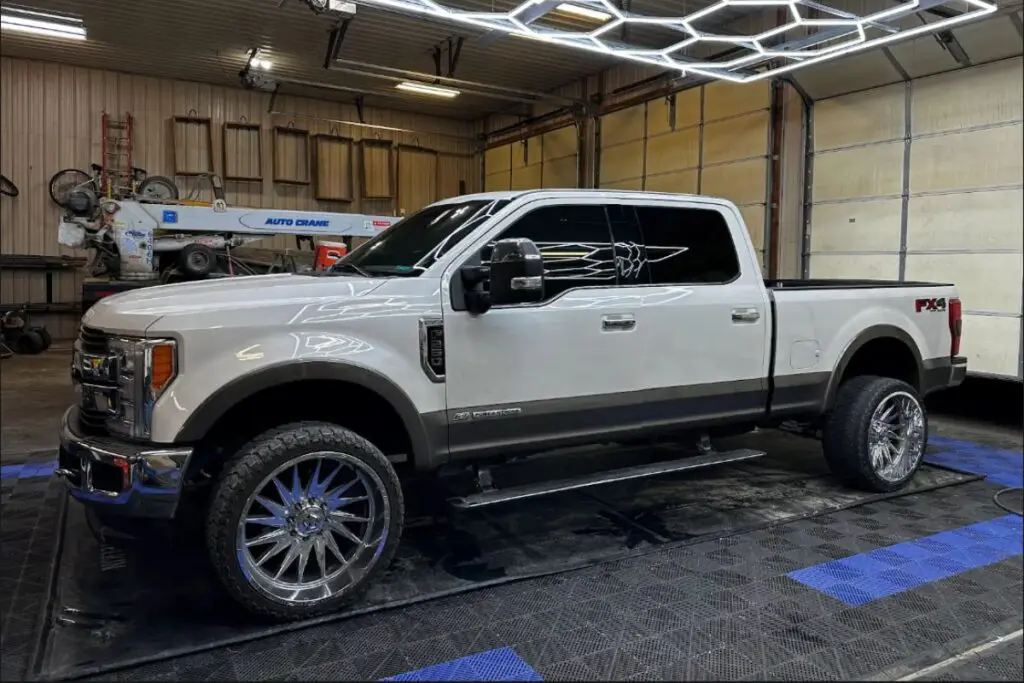
Window tints can bubble, fade, or peel over time from UV exposure, so removing old tints helps prevent further damage
Instructions for removing window tint
Follow these steps to remove window tint from any type of window successfully:
- Prepare the area
Ensure the area is well-lit and free of dust or debris. This will help you see the tint film clearly and prevent contaminants from scratching the glass.
- Soften the tint
For car windows or small surfaces, use a heat gun or hair dryer to soften the adhesive holding the tint. Hold the heat source a few inches away from the tint, moving it back and forth for even heating.
For larger windows, like those in homes or offices, spray ammonia or isopropyl alcohol on the tint and cover it with plastic wrap to keep the liquid in contact with the adhesive for 30 minutes to an hour.
- Peel the tint off
Once the adhesive has softened, use a razor blade or utility knife to lift a corner of the tint. Slowly peel the film away from the glass.
- Remove residue
After removing the tint, inspect the glass for any remaining adhesive. Use a plastic putty knife to gently scrape away any residue. Avoid using excessive force to prevent scratching the glass.
- Clean the glass
Once the residue is removed, clean the glass thoroughly with a microfiber towel and soapy solution. Rinse with clean water and dry completely.
Read more: How ceramic coatings shield your car from the cold
Specific considerations for different types of windows
Different types of windows require specific care during the tint removal process:
Car window tint
Due to the curved nature of car windows, removing tint may be more challenging. Use a razor blade and a plastic putty knife to lift the film carefully.
Home window tint
For larger home windows, consider using a heat gun to soften the adhesive before lifting the tint. It can make the process easier and less time-consuming.
Marine window tint
Marine window tint may require additional care due to exposure to saltwater and harsh weather conditions. Use a marine-grade cleaner and follow the manufacturer’s instructions.
Commercial window tint
Commercial buildings typically have large windows, so removing tint from them can be time-consuming. A heat gun or ammonia works well to soften the tint, but large surface areas require careful attention to avoid streaks or leftover adhesive.
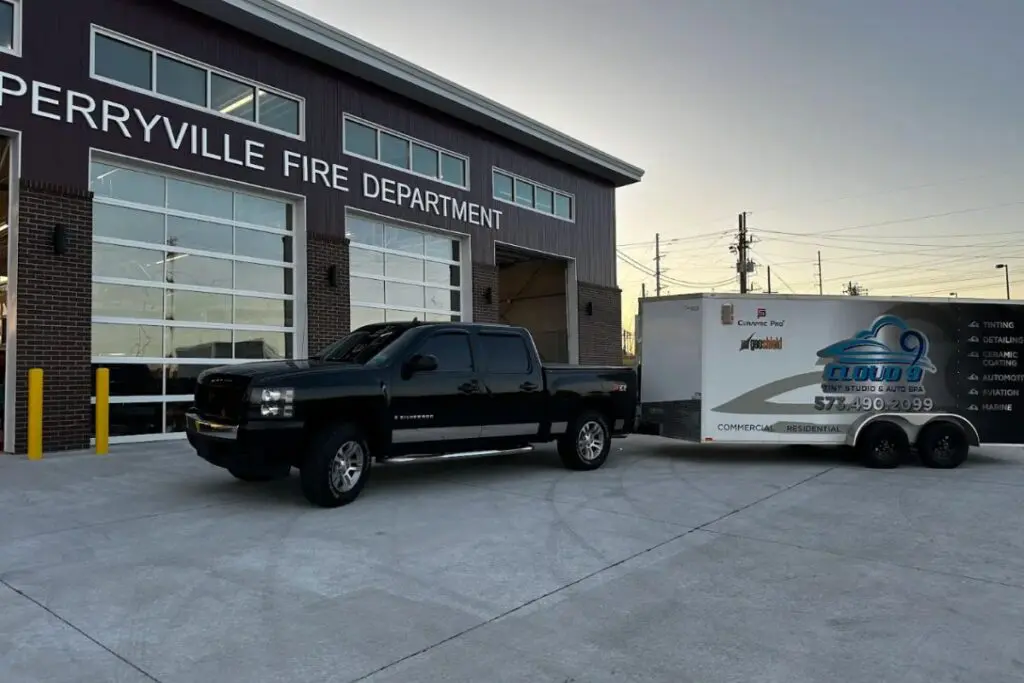
At Cloud 9 Tint Studio and Auto Spa, we expertly remove window tint from cars, homes, boats, and businesses
Tips to successfully remove window tint
Here are some tips to ensure a smooth and efficient window tint removal process:
- Use the right tools: Invest in a quality razor blade or window tint removal tool designed for this purpose. Avoid using sharp objects that could scratch the glass.
- Work in sections: For larger windows, work in small sections to make the process more manageable and avoid the tint drying out during removal.
- Be patient: Removing window tint can be a time-consuming process. Don’t rush, as this could lead to damage.
- Prioritize safety: Always prioritize safety during the removal process. Use gloves when handling sharp tools like razor blades, and ensure you’re working in a well-ventilated area when using ammonia or alcohol.
- Consider professional help: If you’re unsure about removing window tint yourself or if you have a large area to cover, consider hiring a professional window tinting service such as Cloud 9 Tint Studio and Auto Spa. We have the experience and tools to remove tint efficiently and without damaging the glass.
Related: Best vehicle tint shop near me in Cape Girardeau, MO
Professional help to remove your window tints by Cloud 9 Tint Studio and Auto Spa
At Cloud 9 Tint Studio and Auto Spa, we provide expert window tint removal services for cars, homes, marines, and commercial properties. Our trained technicians use the safest methods to ensure your windows are left in perfect condition without any damage or leftover adhesive.
Contact Cloud 9 Tint Studio and Auto Spa at 573-570-4470 or 573-768-2721 to receive a free consultation or to schedule an appointment. We’re located at 111 South West St, Perryville, MO 63775, and are ready to help with all your tinting needs, from removal to installation.